Table of Contents
Introduction of How to Build a Shed Roof
Building a shed roof is a rewarding DIY project that can enhance the functionality and aesthetic appeal of your outdoor space. Whether you’re constructing a new shed or replacing an old roof, understanding the process is crucial for ensuring durability and weather resistance. This guide will walk you through the steps of how to build a shed roof, from planning and material selection to construction and finishing touches. By the end of this article, you’ll have a detailed understanding of the process, along with tips and tricks to make your project a success.
Planning Your Shed Roof
Understanding Shed Roof Types
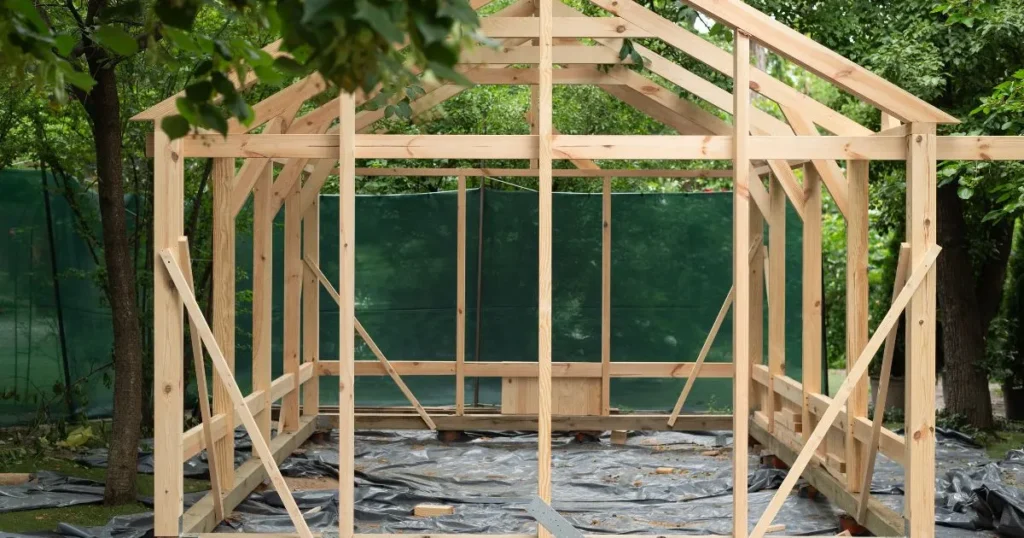
Before diving into the construction, it’s essential to understand the different types of shed roofs. The type of roof you choose will impact the shed’s appearance, functionality, and construction complexity. The most common types include:
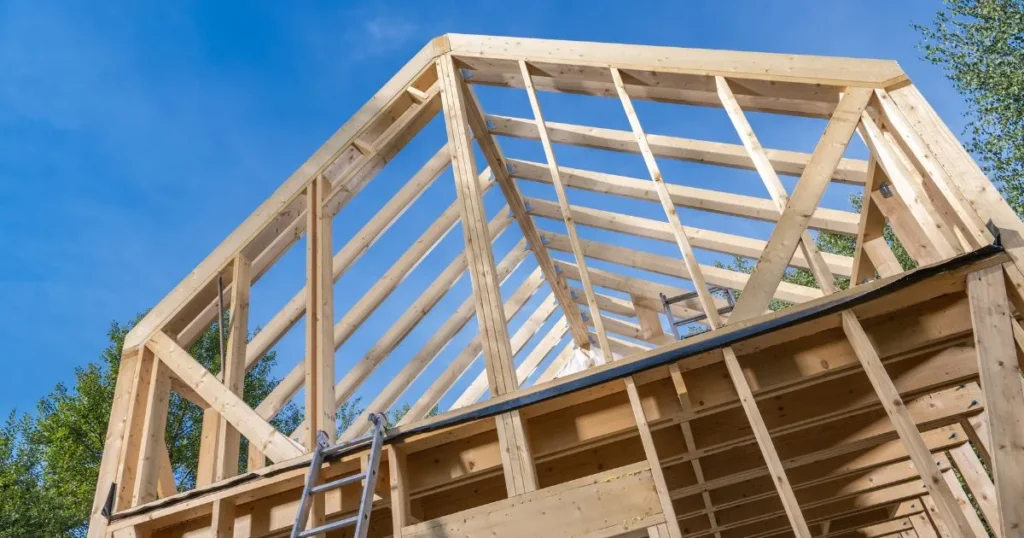
- Gable Roof: Characterized by its triangular shape, a gable roof is simple to construct and provides excellent water runoff. It’s ideal for areas with heavy rain or snow.
- Hip Roof: This roof has slopes on all four sides, offering better wind resistance and a more complex design. It’s more challenging to build but provides a sturdy structure.
- Flat Roof: As the name suggests, a flat roof is level, making it easy to build but requiring proper drainage to prevent water pooling. It’s often used for modern or minimalist designs.
- Lean-To Roof: Also known as a skillion roof, this single-sloped roof is ideal for sheds attached to another structure. It’s simple to construct and cost-effective.
Determining the Roof Pitch
The roof pitch, or slope, is a critical factor in how to build a shed roof. It affects the roof’s ability to shed water and withstand weather conditions. Common pitches range from 3:12 to 6:12, where the first number represents the rise in inches over a 12-inch run.
- Low Pitch (3:12): Suitable for areas with mild weather conditions.
- Medium Pitch (4:12 to 6:12): Ideal for regions with moderate rain or snow.
- Steep Pitch (8:12 or higher): Best for areas with heavy snowfall or frequent rain.
Calculating Materials
Accurate material calculation is vital for a successful project. You’ll need to measure the shed’s dimensions and calculate the required amount of roofing materials, including:
- Rafters or Trusses: The structural framework of the roof.
- Sheathing: The layer of boards or plywood that covers the rafters.
- Underlayment: A waterproof barrier installed over the sheathing.
- Roofing Material: Shingles, metal panels, or other covering.
- Flashing: To prevent water leakage at joints and edges.
Gathering Tools and Materials
Essential Tools
To build a shed roof, you’ll need a variety of tools, including:
- Circular Saw: For cutting lumber and plywood.
- Hammer and Nails: For securing materials.
- Tape Measure: For accurate measurements.
- Level: To ensure the roof is even.
- Ladder: For accessing the roof.
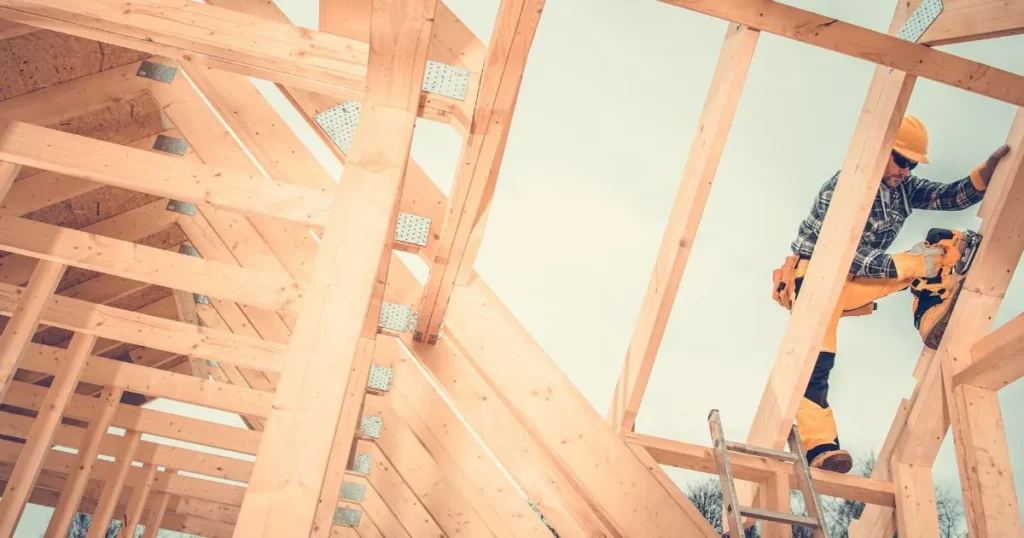
- Safety Gear: Gloves, safety glasses, and a hard hat.
- Chalk Line: For marking straight lines.
- Power Drill: For drilling holes and driving screws.
- Roofing Nailer: For securing shingles or metal panels.
Required Materials
The materials you’ll need depend on the type of roof you’re building. Common materials include:
- Lumber: For rafters, trusses, and sheathing.
- Plywood or OSB: For sheathing.
- Roofing Underlayment: Such as felt paper or synthetic underlayment.
- Roofing Shingles or Metal Panels: For the outer layer.
- Flashing: To prevent water leakage at joints and edges.
- Ridge Cap: For covering the peak of the roof.
- Drip Edge: To direct water away from the shed walls.
Building the Shed Roof
Step 1: Constructing the Rafters or Trusses
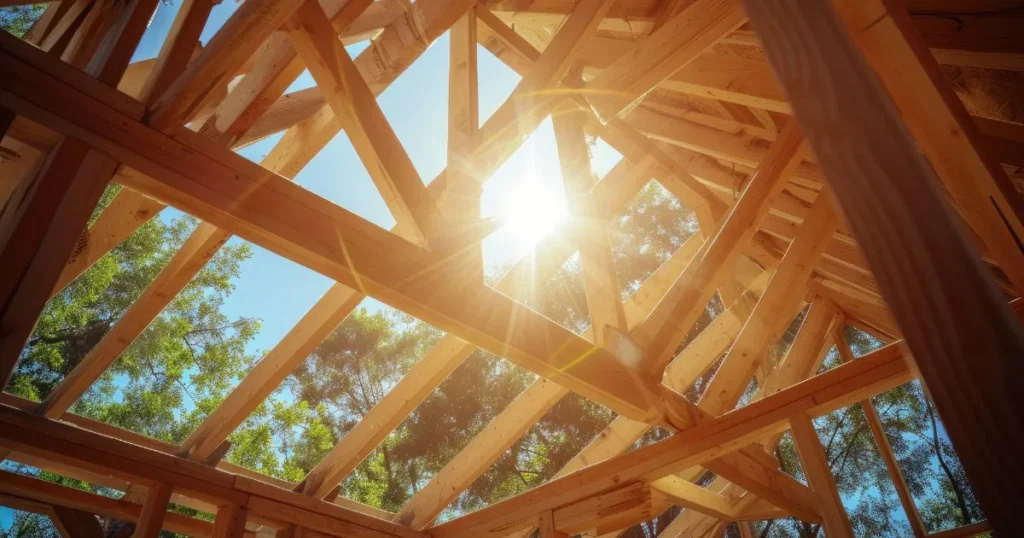
The first step in how to build a shed roof is constructing the rafters or trusses. Rafters are individual beams that run from the top of the wall to the ridge board, while trusses are pre-fabricated triangular frames.
- Cutting Rafters: Use a circular saw to cut the rafters to the desired length and angle. Ensure all cuts are precise for a snug fit.
- Assembling Trusses: If using trusses, follow the manufacturer’s instructions to assemble them correctly.
Step 2: Installing the Ridge Board
The ridge board runs along the peak of the roof and supports the rafters.
- Positioning the Ridge Board: Place the ridge board at the top of the shed walls, ensuring it’s level and centered.
- Securing the Ridge Board: Use nails or screws to secure the ridge board to the rafters.
Step 3: Attaching the Rafters
With the ridge board in place, it’s time to attach the rafters.
- Spacing the Rafters: Space the rafters evenly, typically 16 or 24 inches apart.
- Securing the Rafters: Nail or screw the rafters to the ridge board and the top plates of the shed walls.
Step 4: Installing the Sheathing
The sheathing provides a solid base for the roofing material.
- Cutting the Sheathing: Cut the plywood or OSB sheets to fit the roof’s dimensions.
- Attaching the Sheathing: Nail or screw the sheathing to the rafters, ensuring all edges are securely fastened.
Step 5: Applying the Underlayment
The underlayment acts as a waterproof barrier.
- Rolling Out the Underlayment: Start at the bottom edge of the roof and roll out the underlayment horizontally.
- Securing the Underlayment: Use roofing nails or staples to secure the underlayment, overlapping each row by a few inches.
Step 6: Installing the Roofing Material
The final step in how to build a shed roof is installing the roofing material.
- Starting at the Bottom: Begin at the bottom edge of the roof and work your way up.
- Securing the Material: Follow the manufacturer’s instructions for securing shingles or metal panels, ensuring proper overlap and alignment.
- Adding Flashing: Install flashing around chimneys, vents, and edges to prevent water leakage.
Finishing Touches
Inspecting the Roof
Once the roofing material is installed, inspect the roof for any gaps, loose nails, or misaligned shingles. Make any necessary adjustments to ensure the roof is secure and watertight.
Cleaning Up
Remove any debris from the construction site and dispose of it properly. Clean your tools and store them safely for future use.
Adding Ventilation
Proper ventilation is essential for preventing moisture buildup and extending the life of your shed roof. Consider installing ridge vents or soffit vents to promote airflow.
Painting or Sealing
If desired, you can paint or seal the shed roof to enhance its appearance and protect it from the elements. Use weather-resistant paint or sealant for long-lasting results.
Advanced Tips for Building a Shed Roof
Ensuring Proper Drainage
A well-designed shed roof should have proper drainage to prevent water pooling. Ensure the roof pitch is sufficient and consider adding gutters and downspouts to direct water away from the shed.
Reinforcing the Structure
For added durability, reinforce the roof structure with additional bracing or hurricane ties. This is especially important in areas prone to high winds or heavy snow.
Choosing the Right Roofing Material
The choice of roofing material can significantly impact the shed’s performance and longevity. Consider factors such as cost, durability, and climate when selecting shingles, metal panels, or other materials.
Hiring a Professional
If you’re unsure about any aspect of how to build a shed roof, don’t hesitate to consult a professional. They can provide guidance, ensure the structure is sound, and help you avoid costly mistakes.
Conclusion
Building a shed roof is a manageable project with the right planning, tools, and materials. By following this comprehensive guide on how to build a shed roof, you can create a durable and weather-resistant structure that enhances your outdoor space. Whether you’re a seasoned DIY enthusiast or a beginner, taking the time to understand each step will ensure a successful outcome. Remember to prioritize safety, accuracy, and quality materials to achieve the best results.
FAQ
How long does it take to build a shed roof?
The time required to build a shed roof depends on the size and complexity of the roof, as well as your experience level. On average, it can take a weekend to a few days.
What is the best material for a shed roof?
The best material for a shed roof depends on your budget, climate, and aesthetic preferences. Common options include asphalt shingles, metal panels, and wood shingles.
Do I need a permit to build a shed roof?
Permit requirements vary by location. It’s essential to check with your local building authority to determine if a permit is needed for your shed roof project.
Can I build a shed roof by myself?
Yes, you can build a shed roof by yourself, especially if you have some DIY experience. However, having an extra pair of hands can make the process easier and safer.
How do I maintain my shed roof?
Regular maintenance includes inspecting for damage, cleaning debris, and ensuring proper ventilation. Addressing issues promptly will extend the life of your shed roof.
What is the average cost of building a shed roof?
The cost of building a shed roof varies depending on the materials and size. On average, it can range from 500to500to2,000.
Can I use recycled materials for my shed roof?
Yes, recycled materials such as reclaimed wood or metal can be used for your shed roof. Ensure they are in good condition and suitable for roofing purposes.

